The Art of Matting: How to Mat, Cut, and Frame Your Pictures Like a Pro
The Art of Matting: How to Mat, Cut, and Frame Your Pictures Like a Pro
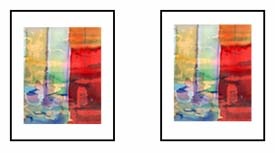
Matting is more than just a finishing touch—it enhances your artwork, protects it, and draws the viewer's eye exactly where you want it. Whether you’re framing a favorite photo, original artwork, or a meaningful poster, learning how to use and cut mats properly can elevate your presentation.
Why Use a Mat?
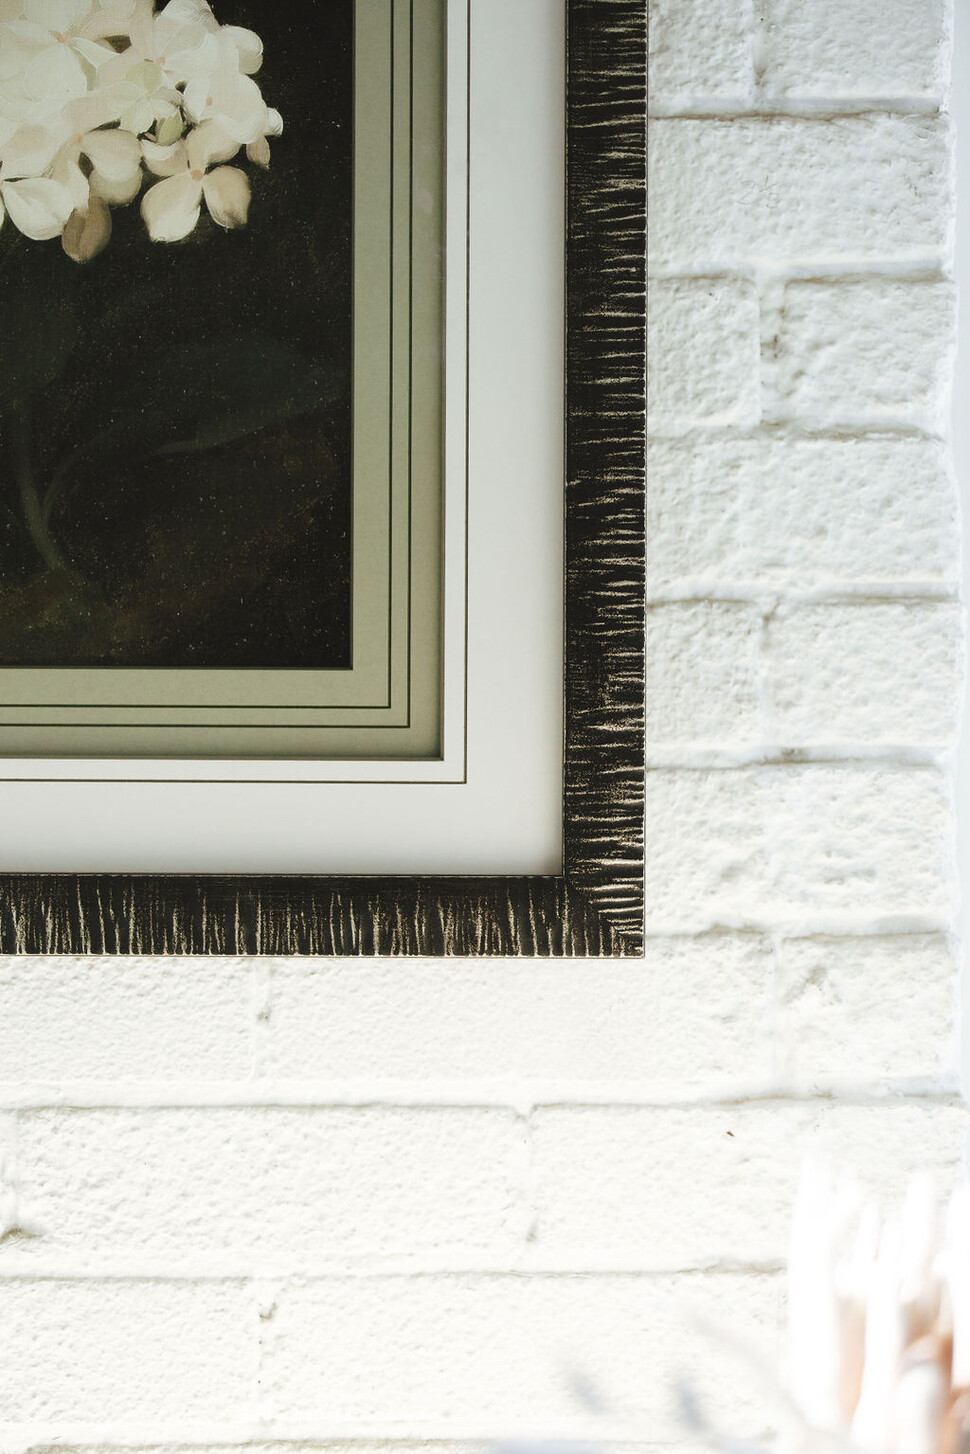
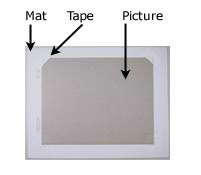
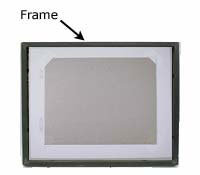
A matboard creates a clean, defined visual space around your artwork. It helps protect the piece from direct contact with the glass, prevents warping, and adds aesthetic depth.
Benefits of Matting:
-
Improves presentation by framing the artwork visually
-
Adds depth through techniques like double matting
-
Draws the eye inward using beveled edges
-
Blends with decor thanks to countless colors, textures, and shapes
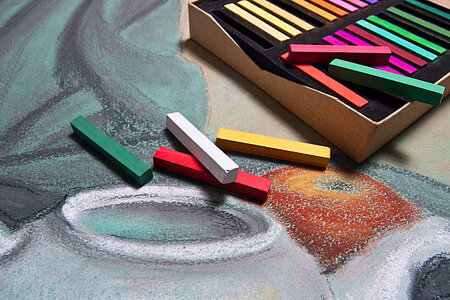
Tip: Choose mat colors that complement tones within the image to subtly highlight key elements.
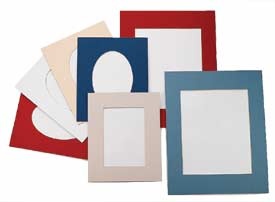
Types of Matboards: Choose with Care
When framing valuable or original artwork, the type of matboard you choose is crucial for long-term preservation.
Archival-Quality Matboards
-
Made from 100% cotton rag or lignin-free wood pulp
-
Buffered to resist environmental acidity
-
Labeled as acid-free or museum-quality
-
Ideal for photography, fine art, and heirloom pieces
Low-Grade Matboards
-
Often found in general stores or craft kits
-
Made from colored paper over pasteboard
-
Prone to yellowing, deterioration, and artwork damage over time
-
Easily identified by bright white or cream cores beneath colored tops
Cutting Mats: Tools and Techniques
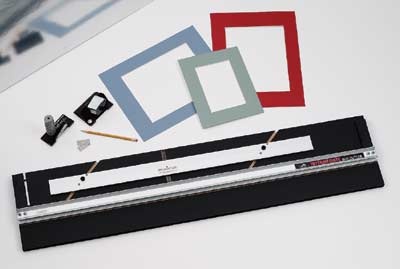
If you’re framing multiple pieces or want creative control, cutting your own mats is a cost-effective and rewarding option.
Types of Mat Cutters
Handheld Mat Cutters
-
Affordable and portable
-
Requires a separate straightedge
-
Greater risk of slippage and uneven cuts
-
Ideal for casual or occasional matting
Tabletop Mat Cutters
-
Built-in straightedge and heavier base
-
More stable and better suited for precision cuts
-
Best choice for frequent use or professional framing
Mat cutter blades dull quickly—replace frequently for sharp, clean cuts.
Understanding Optically Correct MattingIf you mount artwork perfectly centered, it can appear too low to the eye due to a visual illusion. To correct this:
This small adjustment ensures your piece looks balanced when framed. |
Double Matting & Decorative Cuts
Advanced matting techniques can add a custom, high-end feel:
-
Double matting: Layer two mats in contrasting colors for added depth
-
Decorative corners: Use specialized cutters for rounded or angled corners
-
Floating mats: Allow edges of artwork to show with space between mat and image
How to Clean a Matboard
If your matboard gets dirty, gentle cleaning can help restore its appearance:
-
Lay flat on a clean, dry surface
-
Dust with a clean cloth or soft brush
-
Rub gently with a kneaded eraser for light marks
-
Use a sharp utility knife or abrasive eraser for stubborn spots
-
Try rubber cement thinner or lacquer thinner with cotton balls as a last resort—test on a corner first
Always test any cleaning method on an inconspicuous area to avoid surface damage.
Standard Mat & Frame SizesFrame sizes correspond to the size of the matted artwork, not the frame’s outer dimensions. Here are some common sizes:
|
Final Thoughts
Matting your pictures adds a professional polish and helps preserve the integrity of your art. Whether you’re using a pre-cut mat or cutting your own, understanding matboard types, proper alignment, and basic cleaning techniques ensures your work looks its best—and lasts.
Leave a comment
Recent articles
View all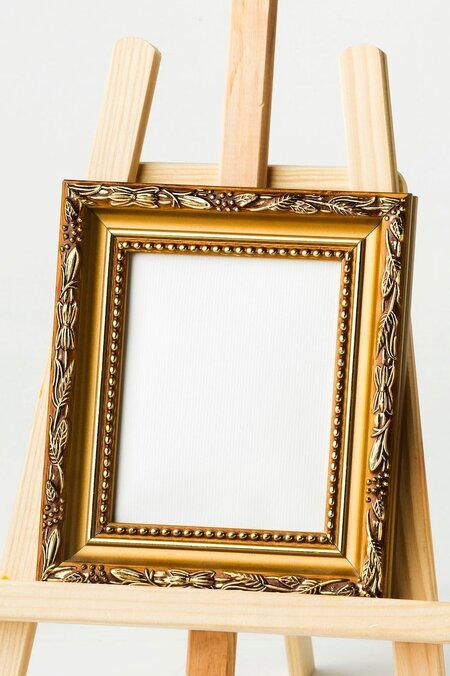
Paint, Glaze & Gild: Creative Faux Finishing at Home
From White to Wow: How to Paint & Dye Fabric Creatively