Starting with Acrylics: The Ultimate Beginner’s Guide

Starting with Acrylics: The Ultimate Beginner’s Guide
Acrylic paint is one of the most popular and versatile mediums available to artists today. Affordable, easy to use, and incredibly adaptable, acrylics can mimic the look of oils, watercolors, or stand proudly in their own unique style. If you’re just getting started, this guide covers everything you need to know — from supports and brushes to blending techniques and helpful hints.
Amazing Acrylics: What Makes Them Special?
Acrylic paint is a synthetic, modern medium that first gained popularity in the late 1950s. The pigments in acrylics are the same as those in oils, but the binder is a transparent acrylic polymer — which makes acrylics dry faster, stay flexible, and resist yellowing with age.
Key Benefits:
-
Quick drying time (often minutes)
-
Water-soluble while wet; waterproof when dry
-
Works on almost any surface
-
Easy cleanup with soap and water
-
No harsh solvents needed
-
Affordable in both student and professional grades
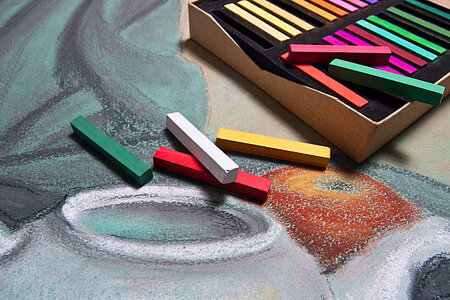
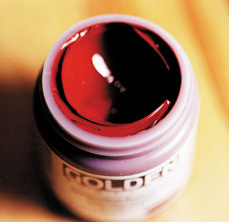
Acrylics are available in tubes, jars, and bottles — and you can choose heavy-body paints for thick texture, or fluid acrylics for washes and airbrushing.
Choosing Supports & Grounds
Your painting surface — or support — can be almost any non-oily, absorbent material:
-
Canvas, cloth, paper, cardboard, wood, or gessoed panels all work well.
Note: Acrylics won’t stick to surfaces that contain oil or wax.
Why Use a Ground?
A ground prepares your surface and helps paint sit on top rather than soaking in. Without it, your paint may look dull and uneven.
Acrylic gesso is the most common ground — it’s easy to brush on, dries quickly, and gives a matte, toothy surface. The final texture depends on:
-
How you apply it
-
How many coats you use
-
Whether you sand between coats
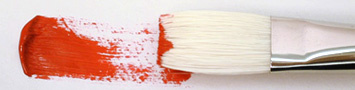
Brushes: Best Choices for Acrylics
Acrylics can be tough on brushes. While many oil brushes work fine, synthetic sable or soft synthetic brushes are often better:
Smooth application for watercolor-like effects
Easier to clean than natural hair
Affordable and durable for repeated use
Palettes: Keeping Paints Fresh
Acrylics dry fast — so many artists prefer a Sta-Wet palette, which keeps paints workable longer using a damp sponge and special paper.
DIY version: Use a shallow plastic tray, a damp paper towel layer, and plastic wrap to cover your paints between sessions.
Mediums: Expand Your Acrylic Toolbox
Acrylics have a huge range of mediums that change how the paint behaves:
-
Gels & Modeling Pastes: Build thick impastos and heavy textures
-
Matte or Gloss Mediums: Adjust sheen and transparency for glazes
-
Retarders: Slow drying time for easier blending
-
Fluid Acrylics: For airbrush and watercolor-like applications
And don’t forget the simplest “medium” of all: water — perfect for beginners to thin paint and keep the process straightforward.

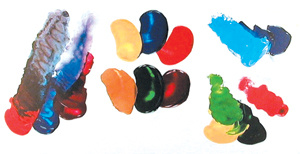
How to Blend Acrylics & Avoid Hard EdgesFast drying means acrylics can leave unwanted hard edges between colors. Here are two tried-and-true blending methods: Method 1: Dry Brush Scumble
Method 2: Transparent Wash Blends
|
Final Thoughts: Get Creative!
Acrylics are endlessly forgiving — experiment, layer, thin, thicken, and see what works for you. They’re the ultimate medium for trying new techniques without fear of ruining your tools or workspace. Start simple with water, brushes, and basic colors — then expand into gels, retarders, and specialty mediums as you grow.
Leave a comment
Recent articles
View all
Paint, Glaze & Gild: Creative Faux Finishing at Home
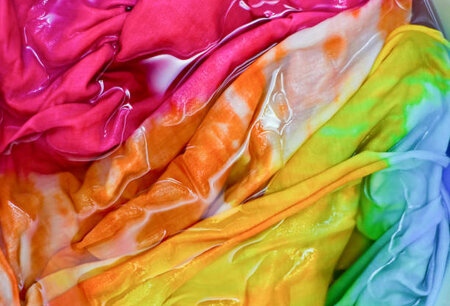
From White to Wow: How to Paint & Dye Fabric Creatively