Soft Color, Bold Art: Discover the Joy of Pastels
Soft Color, Bold Art: Discover the Joy of Pastels
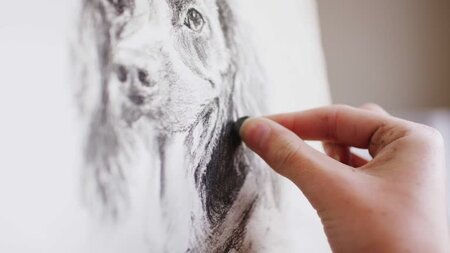
Pastels are one of the easiest and most satisfying mediums for new artists to try. The colors are vivid, the process is direct, and you don’t need a lot of extra supplies — just good paper, a fixative, and your favorite pastel sticks or pencils.
Whether you’re aiming for bold strokes or soft blends, this guide will help you pick the right pastels, paper, tools, and techniques to get started.
Why Work with Pastels?
Pastels offer rich, luminous colors and an immediate connection between your hand and the page — no brushes, mixing palettes, or solvents required. Though they look like chalk, pastels are actually powdered pigment held together with a binder and shaped into sticks or pencils.
There are many grades and types to choose from — so let’s break it down!
The Main Types of Pastels
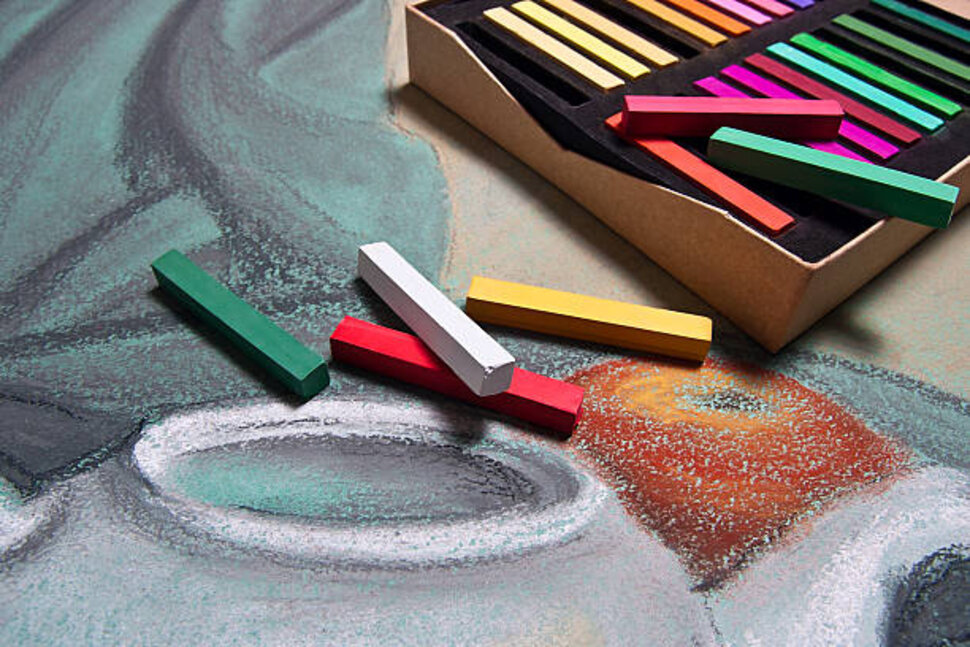
Soft (Chalk) Pastels
-
The original and most popular type.
-
Glides easily for bold color and expressive marks.
-
Largest color range.
-
Keep sticks clean by wiping with a tissue or storing them in a bowl of rice to remove excess dust.
Hard Pastels
-
Contain more binder for a firmer stick.
-
Great for crisp lines and detail work.
-
Ideal for sketching outlines before adding soft pastels.
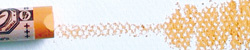
Water-Soluble Pastels
-
Apply dry, then blend with a damp brush for watercolor effects.
-
Available in stick and pencil form.
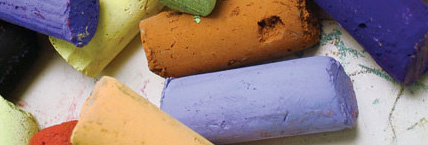
Oil Pastels
-
Smooth, creamy, and blendable.
-
Layer, smear, or mix with mineral spirits for transparent washes.
-
Combine with other wet or dry media for mixed media art.
The Ideal Pastel WorkstationTilt Your Easel: Using an easel tilted toward you helps pastel dust fall away from your work instead of settling on the surface. A moistened newspaper trough under your easel tray makes cleanup easy. |

Choosing the Right Paper
Your paper’s texture (tooth) holds the pigment in place. Heavier, textured papers accept more pastel layers. Good choices include:
-
Watercolor paper
-
Printmaking paper
-
Specialty pastel papers (available in sheets or pads)
-
Colored papers — these can help you judge tones more easily.
Tip: Build color in layers. Start light and add layers so the bottom shows through for depth.
Blending Tools for Pastels
How you blend depends on your style! Try:
Stumps: Double-ended, compressed paper sticks for smudging and details.
Tortillons: Tightly wound paper, pointed on one end.
Chamois Cloths: Soft leather for smooth shading.
Colour Shapers: Rubber-tipped tools for precise, unique blending effects.
Using Fixatives
-
Workable Fixative: Helps you keep working when the paper is saturated — it adds a new grippy layer for more pastel.
-
Final Fixative: Seals your finished piece to protect it from smudges and fading.
Always spray fixatives in a well-ventilated area!
Did You Know?
The great Edgar Degas was a master of pastel. His dynamic drawings of dancers used bold, side-by-side color combinations to create vibrant, stop-action energy.
Final Thoughts
Pastels are perfect for beginners and masters alike — vivid color, easy layering, and direct connection to the page make this medium a favorite for expressive work. Keep a few different types on hand, experiment with blending tools, and don’t forget to protect your final piece with a fixative!
Leave a comment
Recent articles
View all
Paint, Glaze & Gild: Creative Faux Finishing at Home
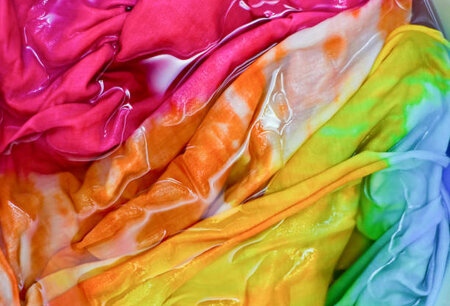
From White to Wow: How to Paint & Dye Fabric Creatively