Setting Up Your Studio: Tips for a Functional, Creative Workspace
Setting Up Your Studio: Tips for a Functional, Creative Workspace
When it comes to creating your best work, the right studio setup can make all the difference. Many artists mistakenly think they need to spend a fortune on equipment, but with a few smart choices, you can build an efficient, comfortable studio that supports your creativity without breaking the bank.
Keep It Simple (and Smart)
A common mistake when setting up an art or design studio is to buy expensive gear that exceeds your actual needs or skill level. Remember: an expensive camera doesn’t make you a better photographer — the same goes for any art equipment. Start with the basics, focus on quality where it matters most, and grow your setup as your skills and projects demand.
How Much Space Do You Really Need?
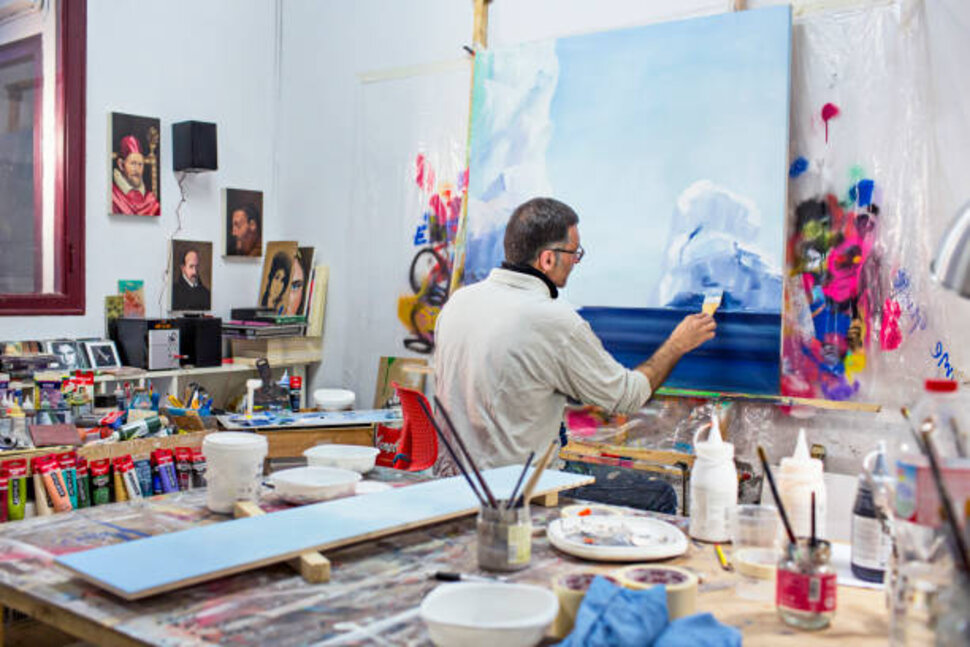
Your studio doesn’t need to be huge — it just needs to be well-lit, airy, and organized. Ideally, choose a room dedicated solely to your creative work. Good natural light is key.
Why North-Facing Windows Are Best
If you’re in the Northern Hemisphere, a large window facing north provides consistent, indirect light throughout the day. This filtered, steady illumination helps you see true colors without the dramatic shifts that happen with direct sunlight.
Choosing Artificial Lighting
Of course, you’ll need artificial light too. For general studio lighting, strip fluorescent lights provide even illumination and can be balanced to mimic daylight.
For close-up work, use adjustable clamp lamps or swing-arm desk lights. Look for options with fluorescent bulbs or daylight-balanced LEDs for better color accuracy than basic incandescent bulbs.
Must-Have Studio Equipment
Drawing Board
Invest in the best drawing board you can afford. It should offer guaranteed squareness and a smooth, stable surface. Look for one with:
-
Adjustable height and angle
-
A sturdy, solid base (whether free-standing or tabletop)
-
A reliable straightedge for T-squares or a built-in drafting machine
Working at the correct height helps you maintain good posture. Many artists find a comfortable chair better than a stool for long sessions.
Light Box
A light box is an incredibly useful tool for tracing, viewing slides, and refining small details. Tabletop models come in various sizes — choose one that suits your typical project scale.
Cutting & Mounting Area
Allow enough counter or table space for cutting mats, trimming, and mounting work. A sturdy surface and sharp tools make these tasks safer and more precise.
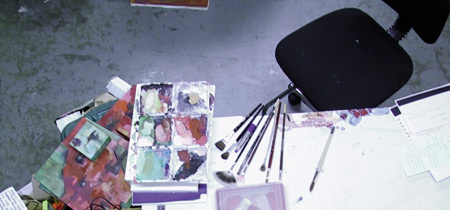
Organize Your Workspace
A cluttered studio can cost you time and sanity. Here are some simple tips to keep your tools where they belong:
Keep Tools Clear of Your T-Square
Draw or tape a clear boundary line on your drawing table. Anything you set down should stay outside the sweep of your T-square.
Stop Tools from Sliding Off
-
Rubber cement a large piece of sandpaper to your table’s edge for grip.
-
Glue strips of sandpaper to the bases of slippery items like rulers or tape dispensers.
-
Attach a slim wooden strip to the bottom edge of your table as a stop bar.
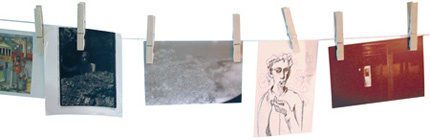
Helpful Hint: Make a Clothesline FileTry this classic studio hack: string a strong line with clothespins in an out-of-the-way spot. Clip reference images, work-in-progress pieces, or swatches to keep them visible but off your workspace. Stops of tape on the line prevent the clips from sliding together. |
Final Thoughts
Your studio doesn’t have to be fancy — it just needs to work for you. Focus on good light, sturdy work surfaces, smart organization, and the essentials you’ll use every day. As your skills and needs evolve, you can add specialized tools that truly serve your process.
Leave a comment
Recent articles
View all
Paint, Glaze & Gild: Creative Faux Finishing at Home
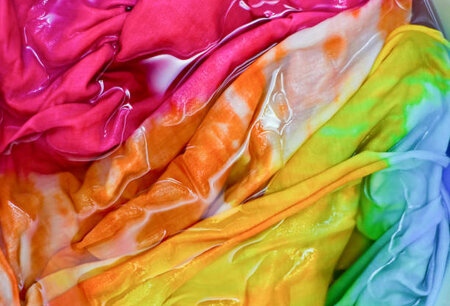
From White to Wow: How to Paint & Dye Fabric Creatively