Paint, Glaze & Gild: Creative Faux Finishing at Home
Starting with Faux Finishing & Home Décor: Your Beginner’s Guide
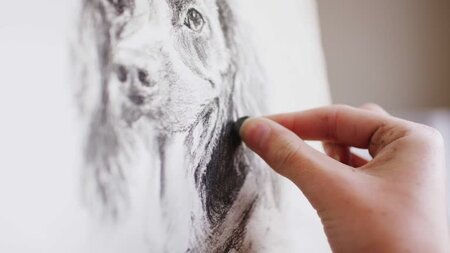
Faux finishing is one of the most rewarding ways to transform walls, furniture, and décor into something special. With the right brushes, glazes, and a few creative techniques, you can add depth, texture, and personality to any room — from subtle aged patinas to bold metallic leafing.
What is Faux Finishing?
“Faux” means “false” — and in the art of finishing, it means you’re creating the illusion of a material or texture. A faux marble wall isn’t real stone, but it looks so real you might want to touch it!
Some techniques are simple, like sponging or ragging for soft texture. Others, like marbling or wood graining, take practice and the right tools.
Essential Tools for Faux Finishing
While you can create basic effects with ordinary brushes and sponges, the right tool makes a big difference:
Background & Basecoat Brushes: All-purpose for large surfaces
Bristle & Badger Softener Brushes: Blend paint edges for a softer look
Flogger Brushes: Heavier bristles for realistic wood graining
Stippler Brushes: Soften paint for delicate texture
Stencil Brushes: Stiff, short-handled brushes for crisp stencil edges
Graining Rollers: Rubber rollers for realistic heart grain wood patterns
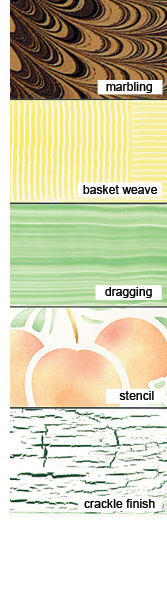
Faux Finishing Techniques to Try
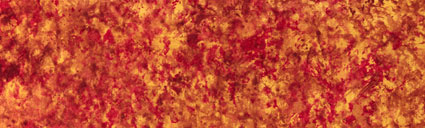
Glazes
A glaze thins your paint for translucent layers. A thin glaze wash lets you layer colors for extra depth.
Sponging
Beginner-friendly! Dip a natural or kitchen sponge into paint and dab onto your surface for a textured, cloudy look.
Ragging
Roll a crumpled, glaze-dipped lint-free rag over a wet surface for a mottled, soft effect.
Stenciling
Add patterns to furniture, walls, or décor — apply paint through a stencil with a sponge, brush, or spray.
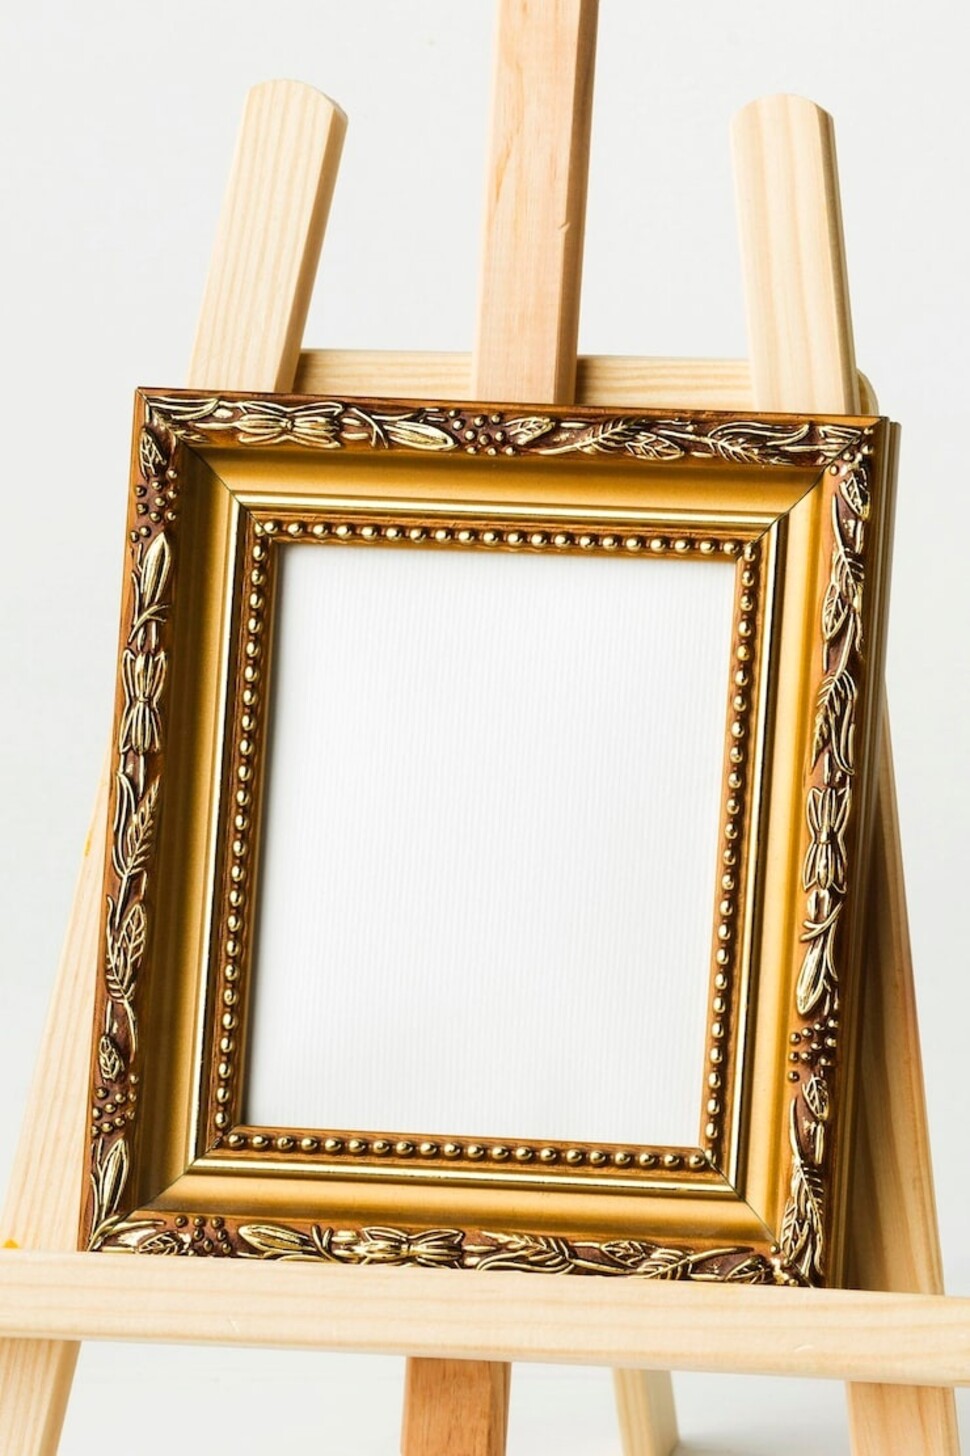
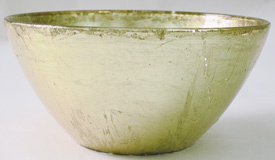
Metallic Leafing (Gilding)
For a bold, luxurious touch, try metallic leafing, also called gilding. This technique uses thin sheets of gold, silver, or copper to give surfaces an antique or vintage glow.
How to Leaf:
-
Apply a basecoat and let dry.
-
Lightly sand for texture.
-
Brush on adhesive size — wait until tacky.
-
Apply metal leaf sheets, overlapping slightly. Small cracks are good — they add authenticity.
-
Use a soft cloth or brush to smooth out bubbles and remove excess leaf.
-
Seal with a satin sealer.
-
For an aged look, rub on an antiquing glaze with cheesecloth for subtle warmth.
Surface Prep: The Secret to Faux Finishing SuccessFill imperfections: Use putty or plaster — paint will not hide dents or nail holes. |
Final Tips for Home Décor Finishes
Keep your fabric taut for stenciling and leafing.
Practice on scrap boards or test patches first.
Work in thin layers — it’s easier to add than to remove!
Take your time — the magic is in the details.
Bring It All Together
Faux finishing is all about creating the perfect illusion with simple tools and some practice. From rustic textures to elegant gilding, you’ll have endless ways to add your personal touch to any space.
Leave a comment
Recent articles
View all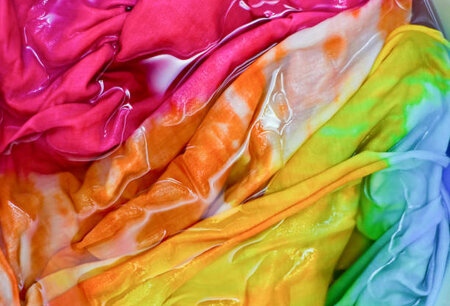
From White to Wow: How to Paint & Dye Fabric Creatively
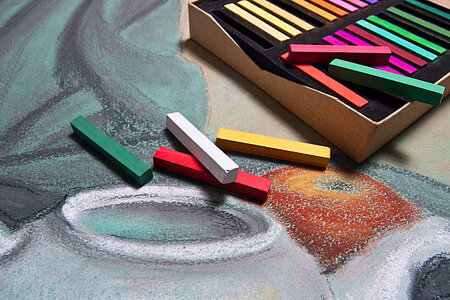
Soft Color, Bold Art: Discover the Joy of Pastels